|
Home |
|
MPLAB IDE + PICSTART Plus Programmer - Compilation and Device Programming
Click here for old tutorial
Compilation and Device Programming
- Setup Project Directory
- Create directory C:\tut
- Copy main.c
into project directory.
- Start MPLAB IDE
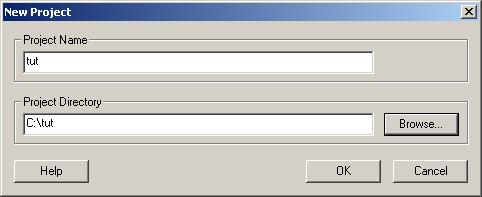
- Start a new project
- Project -> New
- Fill in project name and directory, press OK
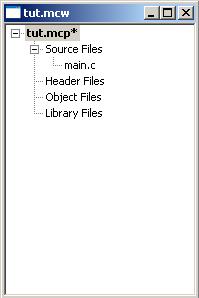
- Project -> Add Files to Project...
- Select the main.c file you downloaded. You should
now see main.c added to your project.
- Set Configuration Bits
- Configure->Configuration Bits...
- Set Oscillator to Internal RC no clock and set everything else to
Off or Disabled by clicking on each row, your window
should look like below

- Close the Configuration Bits window by clicking on
the "X" in the upper right corner
- Select PIC device
- Click on Configure->Select Device...
- You should see the Select Device box shown below
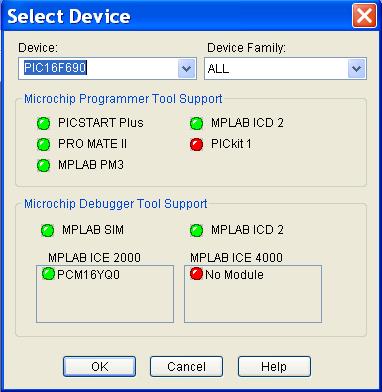
- In the drop down menu select PIC16F690, click OK
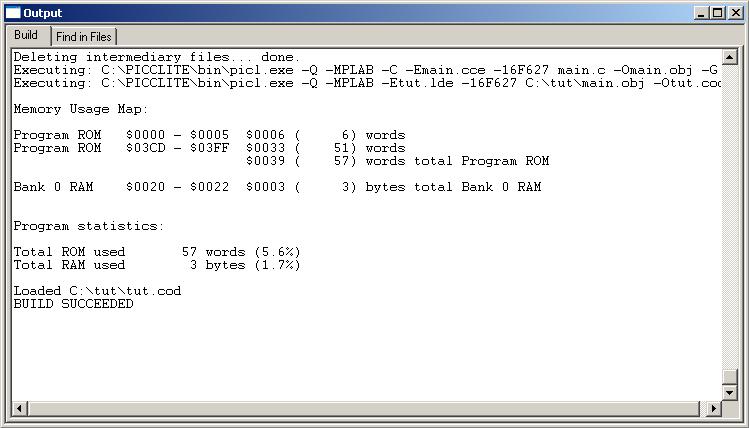
- Compile Program
- Project -> Build All
- You should see the below output window, since there
are no error you are now ready to download the
program
- Configure the programmer
- Make sure the programmer power is plugged in
BEFORE you insert the chip, or else
you may damage the PIC
- Make sure the serial cable is plugged into the
programmer and to a serial port on your computer
- Select the programmer,
Programmer->Select Programmer->PICSTART Plus
- Activate the programmer, Programmer->Enable Programmer
- You should now be ready to download your programs.
- Programming the PIC
- Insert the chip into the programmer (make sure it
is in the correct direction).
- Programmer -> Erase Flash Device
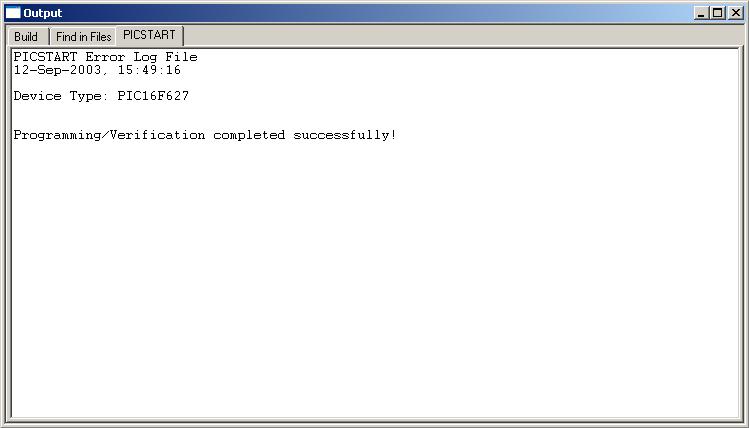
- Programmer -> Program
- You should then see the window below indicating the
PIC was programmed correctly.
- Congratulations! Your PIC is now ready to use!
|