Description
In this project, you will implement a basic ray tracer.
Code
Skeleton code is available here.
This code contains a number of files, including.
- SConstruct
- Source files: *.h, *.cpp
- Test files: *.txt
The methods that you need to implement are marked with 'TODO' in the code.
The TODO lines print out a simple message when executed to help you identify what functions need to be implemented and where they are located.
A code skeleton and driver framework is provided.
You will need to implement object intersections, shading, and ray casting.
To run the tests, run ./ray_tracer -i <test-file>, where test-file is one of the provided test files.
More detailed usage instructions are provided in the main.cpp file.
The tests are designed to be implemented and debugged in order and are intended to help you debug your implementation.
They will also be used for grading.
The code contains many comments explaining what needs to be done and what functions should do.
It is very highly recommended to to read through the code and comments before you begin implementing things.
Being aware of the functions and variables that are available to you with help you write your code.
Submission Instructions
Please package up your code before you submit it (tar, tar.gz, tar.bz2, or zip).
Your submission should contain all of the source files that you modified (it is okay but unnecessary to submit files that you did not modify).
You should not modify main.cpp (if you submit a copy of this file, it will be overwritten by the original).
As a general rule, you should not modify files that do not contain a TODO unless you are doing extra credit.
Extra Credit
You may receive up to 10 points of extra credit on the final submission for this project.
Here are some ideas for extra credit:
- Texture mapping. Turn a sphere into a globe or put a texture on two cubes to make them a pair of dice.
- Environment mapping. Include a background image for the environment (e.g., a sky with clouds). Include a reflective object so we can see a reflection of the environment in the scene.
- Transparent objects. Implement refraction and the Fresnel equations.
- More primitives. Eg, add support for cone, torus, or cylinder.
- Antialiasing.
- Implement the spot light.
You may also suggest another option by contacting the professor (by email or in office hours).
In any case, you will need to explain briefly what you have done and how you did it; put this information in a file called extra-notes.txt.
The presence of extra-notes.txt indicates that extra credit has been done.
You may need to add extra files (texture map images, cone.cpp, etc.) or modify other files (parse.cpp, SConstruct) to implement extra credit.
You will need to add extra test cases (extra-1.txt, extra-2.txt, etc.) to demonstrate the new functionality that you have added.
Indicate what the test cases are, how to run them, and what we should see.
No credit will be given for extra credit that is not demonstrated with at least two test cases, one of which should be nontrivial and challenging.
Changes made for extra credit should not alter the behavior of the original test cases.
For example, if you implement antialiasing, be sure not to antialiase the results of the original test cases, since this may cause you to lose points on those test cases.
Grading script
This project comes with a grading script, which you can run like this: "./grading-script.py .".
Be sure to run this script before you submit your project (or checkpoint) to be sure that the program functions as you expect in grading mode.
If you receive a grade that differs from what you saw from the grading script, let the instructor know.
Note that extra credit projects will vary from student to student and are not graded using the script.
These will be graded individually.
Checkpoints
This project has two checkpoints.
Checkpoints are intended to encourage you to start your project early.
At each checkpoint, you will submit your project just as you would when it is due.
At the first checkpoint, your program will be graded out of 20 points.
At the second checkpoint, your program will be graded out of 35 points.
No extra credit is possible at checkpoints; you receive full credit for the checkpoint if you have at least the specified number of points when you submit the checkpoint.
When your project is due, it will be graded out of 50 points, and extra credit will be given for scores higher than that.
Test cases
The table below documents the tests.
Along with a thumbnail showing what the result should look like, I make some potentially helpful notes about the test case.
Click the thumbnail for a full-size image.
Some of the test cases come with a pixel trace.
This trace provides detailed information about intermediate calculations that occured when calculating the color of one particular pixel in the image.
The -x and -y options are provided to help you print out this information from your own implementation.
Pixel traces allow you to identify the cause of a problem, which might otherwise be difficult to track down.
| Thumbnail |
Notes |
 |
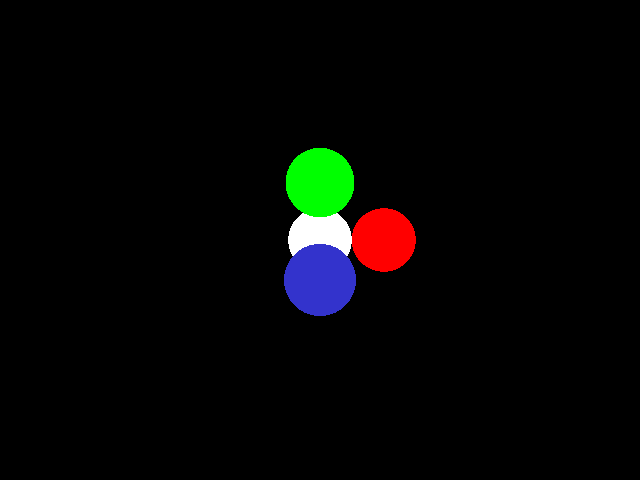
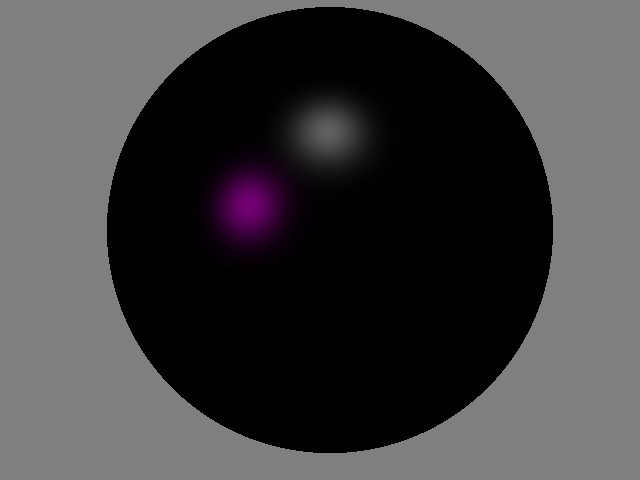
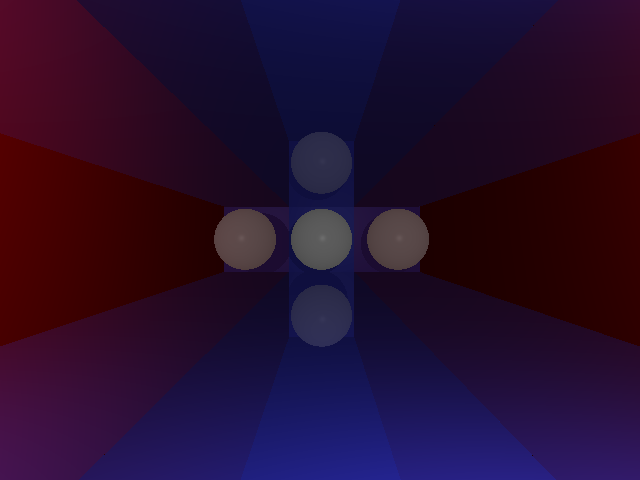
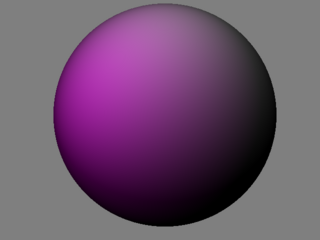
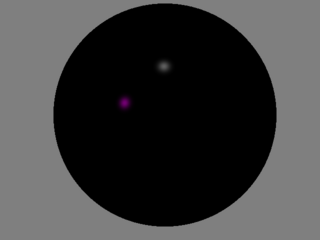
00.txt
5 points
pixel trace
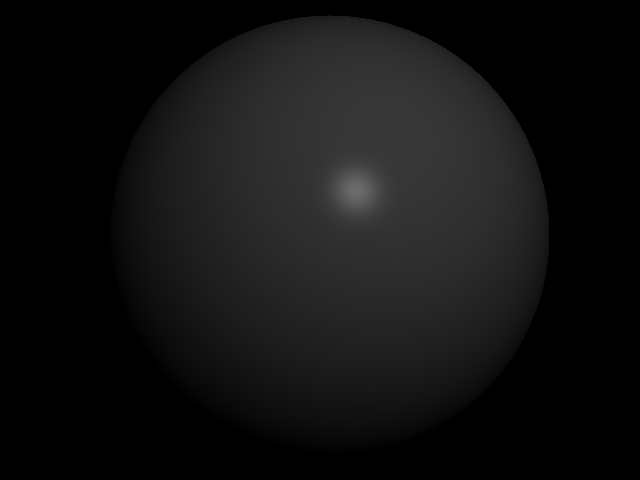
Bare minimum to getting started: flat shading, sphere intersections, casting rays.
|
 |
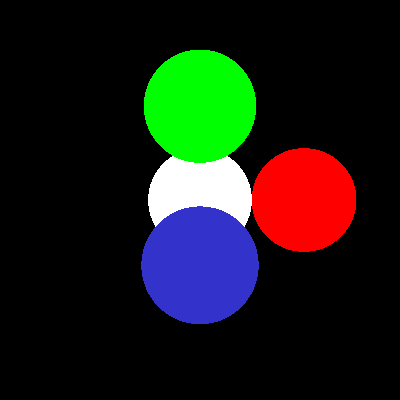
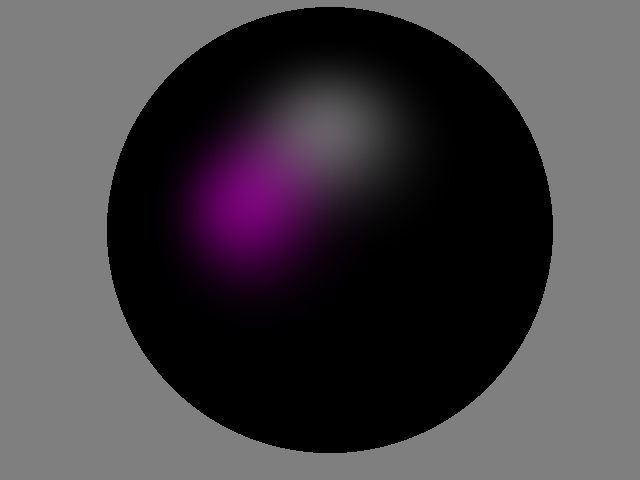
01.txt
5 points
Get the coordinate system oriented correctly, introduce colors.
|
 |
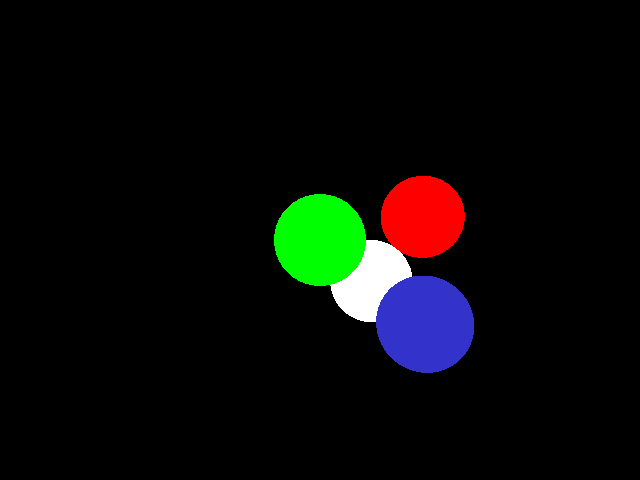
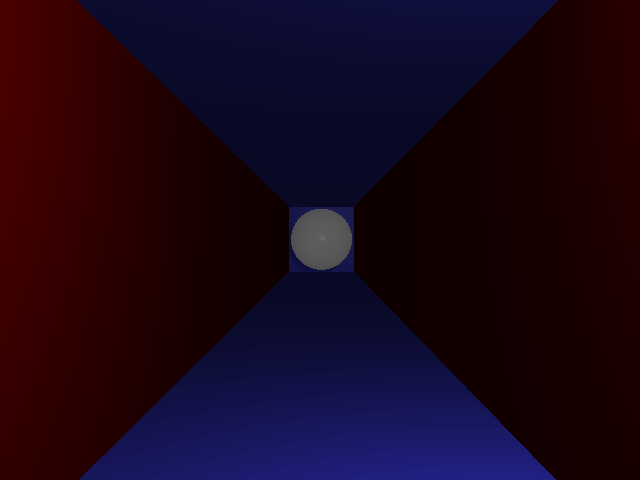
02.txt
1 points
Test image size and camera settings.
|
 |
03.txt
1 points
pixel trace
Test irregular camera orientation.
|
 |
04.txt
3 points
Get basic plane intersections working.
|
 |
05.txt
3 points
pixel trace
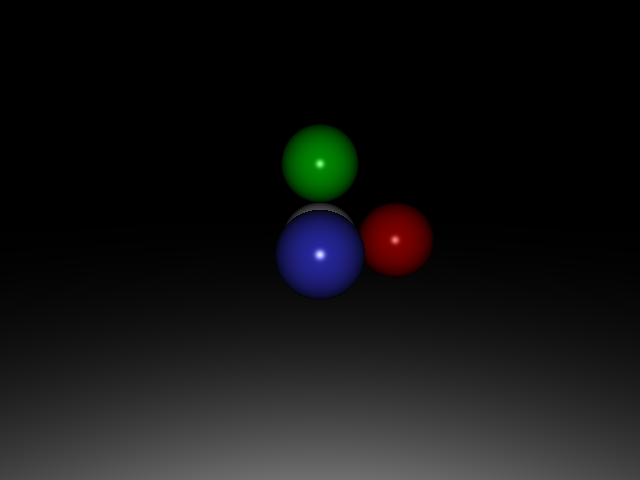
Add Phong shading (diffuse only) and handle point lights.
|
 |
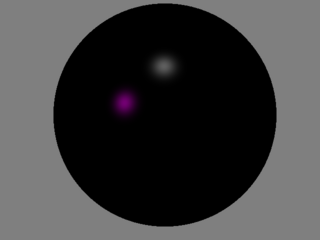
06.txt
1 points
pixel trace
Phong shading with sphere - diffuse only.
|
 |
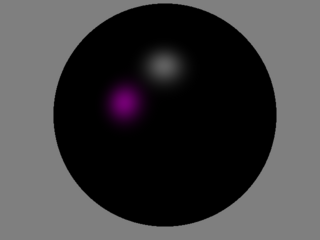
07.txt
1 points
Phong shading colored material and colored light. Diffuse only.
|
 |
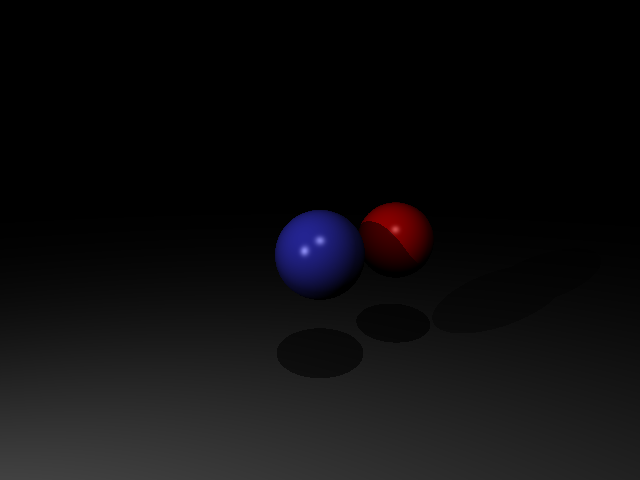
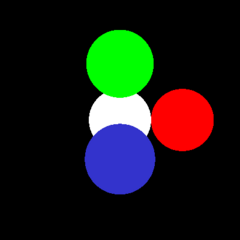
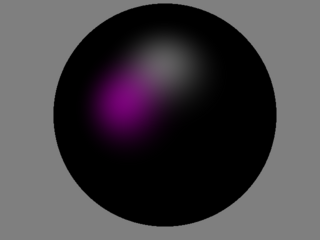
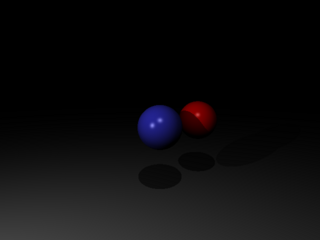
08.txt
3 points
pixel trace
Add specular.
|
 |
09.txt
1 points
pixel trace
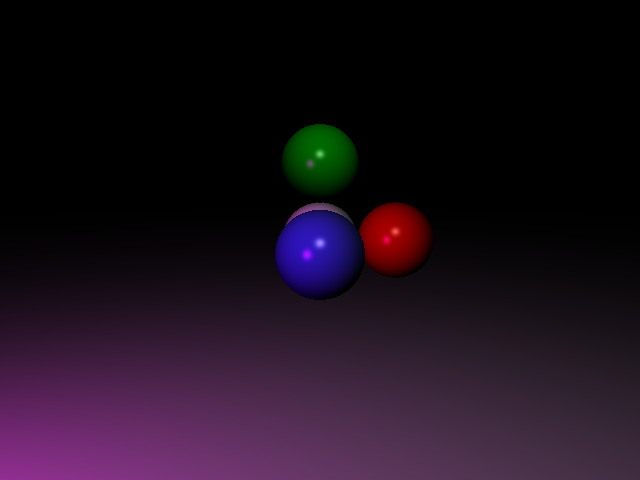
Both diffuse and specular.
|
 |
10.txt
1 points
pixel trace
Move light off center; break symmetry.
|
 |
11.txt
1 points
Colors with lights, diffuse, and specular.
|
 |
12.txt
1 points
Phong shading with full scene.
|
 |
13.txt
1 points
Add color to the lights; make sure things work with two lights.
|
 |
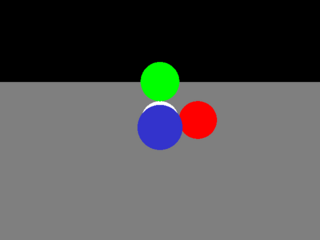
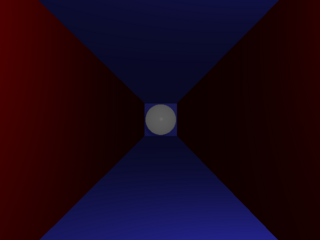
14.txt
3 points
Add background shader, introduce ambient light.
|
 |
15.txt
1 points
Shading test.
|
 |
16.txt
1 points
Specular shading test - test exponent.
|
 |
17.txt
1 points
Specular shading test - test exponent.
|
 |
18.txt
1 points
Specular shading test - test exponent.
|
 |
19.txt
1 points
Specular shading test - test exponent.
|
 |
20.txt
5 points
pixel trace
Introduce basic shadows. This is also a bug test; there is a very bright light hidden under the ground.
|
 |
21.txt
1 points
Bug test: objects behind the light.
|
 |
22.txt
1 points
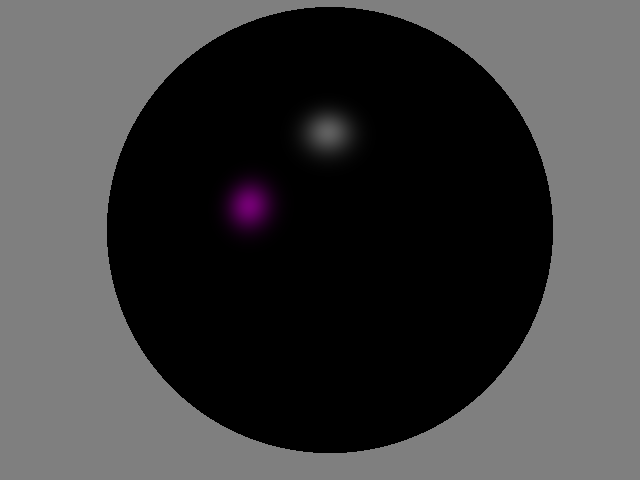
Bug test: object covering up the light. Since no light escapes, the image should only contain ambient light.
|
 |
23.txt
1 points
pixel trace
Test recursion depth.
|
 |
24.txt
1 points
Test recursion depth.
|
 |
25.txt
1 points
pixel trace
Test recursion depth.
|
 |
26.txt
2 points
pixel trace
Simple triangle mesh
|
 |
27.txt
2 points
pixel trace
Simple triangle mesh
|
 |
28.txt
5 points
pixel trace
Large triangle mesh; this test will need the hierarchy
|
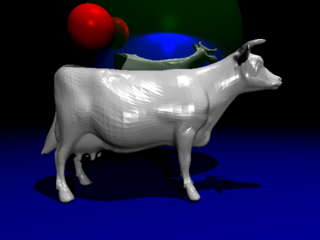 |
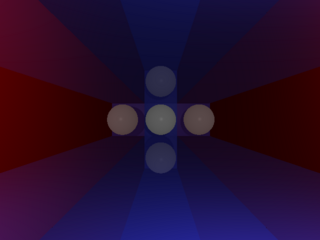
29.txt
5 points
pixel trace
Put different types of objects in the scene to test the hierarchy
|