Overview

In this assignment, you will be implementing a simplified 3D rendering pipeline. This will consist of several parts, introduced through a series of tests:

  1. Vertex and fragment shading calls
  2. Rasterization and interpolation
  3. Clipping
  4. Using a z-buffer for hidden surfaces

Code

Skeleton code is available here.

Submission Instructions

Your assignment is to implement the functions in driver_state.cpp. Submit your driver_state.cpp file on iLearn.

Getting Started

If you need help getting started:

  1. Read the comments in all of the *.cpp and *.h files. These files are heavily commented to help you. Instruction on how to call the program are provided in main.cpp.
  2. First, set up your pipeline so that your input is able to reach rasterize_triangle.
  3. Next, draw the vertices in the output so you can verify that they are approximately where they should be. They may be as much as two or three pixels off at this stage; this is as good as you will be able to do this way.
  4. Once the pixels are in approximately the right places, modify rasterize_triangle to rasterize each triangle.
  5. Using the drawn triangles, fine-tune the placement of your pixels. Using the drawn triangles, fine-tune the placement of your pixels. Remember that the locatons (-1,-1) and (1,1) map to the corners of the image, not the centers of the corner pixels.
  6. Go through the list of inputs one at a time, implementing features as they are needed and fixing bugs as you encounter them. The tests are roughly arranged from easy to hard and are intended to assist you in debugging your program.

Grading

Along with the sample code is a list of test cases and a grading script. Each test case contains a list of commands, which are the OpenGL functions that will be called and the arguments that they will be given. The grading is automated, so you will be able to determine what your score will be before you turn it in. The file grading-scheme.txt tells you how many points each test case is worth. This is the file that the grading script will use. Some deviation is to be expected, but you should be able to get very close. You should be able to get within 0.10 error on most, though not all, of the tests; the permitted error is very conservative.

The project will be graded out of 50 points. The maximum number of points possible is 60; 10 points of extra credit are possible. The tests are documented individually in the table below.

Grading script

We are providing you with the grading script that we will be using to grade this project. You can run it like this: "./grading-script.py .". This will automatically compile your code, run all of the tests in the table above, and compute your score based on the point values in the table. This means you can run it yourself to see your progress. This will allow you to quickly identify the next test to work on. You can also run it before you submit your project so that you know what your score will be before you submit it.

Checkpoints

This project has one checkpoint. Checkpoints are intended to encourage you to start your project early. At each checkpoint, you will submit your project just as you would when it is due. At the first checkpoint, your program will be graded out of 20 points. At the second checkpoint, your program will be graded out of 35 points. No extra credit is possible at checkpoints. When your project is due, it will be graded out of 50 points, and extra credit will be given for scores higher than that.

Test cases

The table below documents the tests. Along with a thumbnail showing what the result should look like, I make some potentially helpful notes about the test case. Click the thumbnail for a full-size image.

Thumbnail Notes
files/glsl-thumb-00.png 00.txt

10 points

Get the basics working: basic pipeline structure, triangle rasterization, and pixel placement. Note that most aspects of this project can be ignored at this stage. In particular, you can pass this test without: shaders, uniform data, per-vertex data, clipping, colors, homogeneous coordinates, or z-buffering. These features will be introduced one by one in later tests. The idea is to implement and test features step by step as we progress through the test tests.
files/glsl-thumb-01.png 01.txt

1 points

Implement support for custom image sizes.
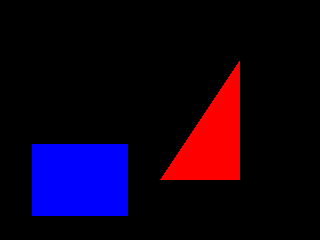
files/glsl-thumb-02.png 02.txt

3 points

Introduce support for more than one triangle.
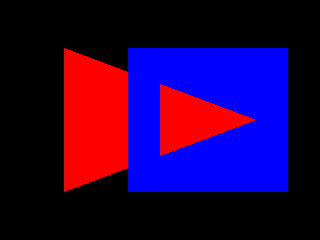
files/glsl-thumb-03.png 03.txt

5 points

This test case introduces three new elements: simple transforms (non-uniform scale, no perspective), a vertex shader (which performs that transform), and uniforms (makes transformation data available to the vertex shader). Note that you do not need homogeneous coordinates to complete this test.
files/glsl-thumb-04.png 04.txt

2 points

This test is a combination of translation and scale; you will need to implement homogeneous coordinates for this test. There is no perspective in this test.
files/glsl-thumb-05.png 05.txt

1 points

Make sure things work with a perspective transformation.
files/glsl-thumb-06.png 06.txt

3 points

This test introduces two new elements: color support and fragment shaders.
files/glsl-thumb-07.png 07.txt

3 points

: This test includes vertex attributes (besides position), and it tests to make sure flat interpolation works. This test also checks to make sure you can handle more than one color in a scene.
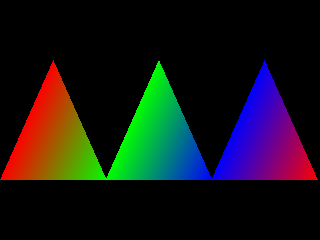
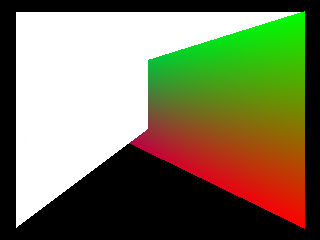
files/glsl-thumb-08.png 08.txt

3 points

This test introduces non-perspective interpolation (interpolation using image-space barycentric coordinates) of per-vertex attributes.
files/glsl-thumb-09.png 09.txt

3 points

Implement z-buffering.
files/glsl-thumb-10.png 10.txt

2 points

Implement clipping against the near and far planes. Note that full perspective-correct clipping is not required to pass this test.
files/glsl-thumb-11.png 11.txt

1 points

Make sure z-buffering works with interpolated colors.
files/glsl-thumb-12.png 12.txt

1 points

Implement clipping against the sides of the image. Note that full perspective-correct clipping is not required to pass this test.
files/glsl-thumb-13.png 13.txt

1 points

Implement triangle fan.
files/glsl-thumb-14.png 14.txt

1 points

Implement triangle strip.
files/glsl-thumb-15.png 15.txt

1 points

Implement indexed rendering.
files/glsl-thumb-16.png 16.txt

1 points

Implement full perspective-correct clipping.
files/glsl-thumb-17.png 17.txt

1 points

Make sure flat interpolation is working.
files/glsl-thumb-18.png 18.txt

1 points

Make sure non-perspective interpolation is working.
files/glsl-thumb-19.png 19.txt

1 points

Implement perspective-correct interpolation.
files/glsl-thumb-20.png 20.txt

1 points

Test z-buffering with perspective transform.
files/glsl-thumb-21.png 21.txt

1 points

Test to make sure non-perspective interpolation works with clipping even with a perspective transform.
files/glsl-thumb-22.png 22.txt

1 points

Test to make sure perspective-correct interpolation works with clipping even with a perspective transform.
files/glsl-thumb-23.png 23.txt

1 points

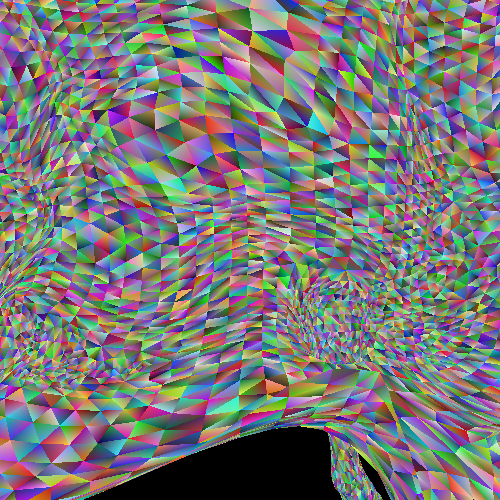
Large test with triangle rendering. Make sure that rendering is not too inefficient. This test includes many features, including perspective, clipping, perspective-correct interpolation. If something is not quite working, it has a good chance of showing up here. If you find that this test breaks, try pruning out triangles to try to create a smaller test that also breaks. This will be easier to debug.
files/glsl-thumb-24.png 24.txt

1 points

Repeat the stress test with indexed rendering. Both stress tests have exactly the same triangles in the same order. The colors are completely different.
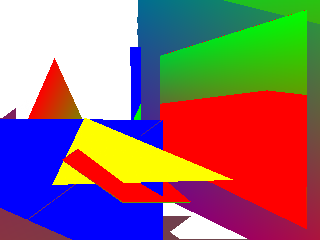
files/glsl-thumb-25.png 25.txt

10 points

Throw lots of random stuff in and see what happens