Overview
In this assignment, you will be implementing a simplified 3D rendering pipeline (with flat shading). This will consist of several parts, introduced through a series of tests:
- Vertex and viewing transformations
- Rasterization and interpolation
- Clipping
- Using a z-buffer for hidden surfaces
Code
Skeleton code is available here.
Submission Instructions
Deadline TBD.
Your assignment is to implement the functions in minigl.cpp.
Submit your minigl.cpp file on iLearn.
Software Framebuffer
You will have a software framebuffer that stores both a 2D array of pixel colors and a 2D array of z (depth) values.
Your rasterization routine will write into this software framebuffer.
Rasterization and z-buffer depth test
Implement a routine that draws a filled triangle specified by three
vertices into your software framebuffer. The routine should write its
result to the software framebuffer, doing the appropriate z-buffer
check.
Vertex and viewing transformations
Similar to OpenGL, you will maintain both a projection matrix stack and a
modelview stack.
When the user draws a vertex you will apply the modelview and projection
( projection * (modelview * vertex) ) to obtain
the transformed geometry. This is followed by a divide by w, and a
viewport transform. You will then store this transformed geometry for
rasterization. The reason for this is that
the transformations are part of the current state and will not
necessarily persist.
Getting Started
If you need help getting started:
- Read the comments in main.cpp, minigl.h, and minigl.cpp. Instruction on how to call the program are provided in main.cpp.
- Look through the first test case. Get the mglBegin(), mglEnd(), and mglVertex2() calls working. Make mglReadPixels draw the vertices in the output so you can verify that they are approximately where they should be. They may be as much as two or three pixels off at this stage; this is as good as you will be able to do this way.
- Once the pixels are in approximately the right places, modify mglReadPixels to rasterize each triangle.
- Using the drawn triangles, fine-tune the placement of your pixels. Remember that the locatons (-1,-1) and (1,1) map to the centers of the corner pixels, not to the corners of the image. The -p and -g options will be very helpful here; these will show you visually the difference.
- Go through the list of inputs one at a time, implementing features as they are needed and fixing bugs as you encounter them. The tests are roughly arranged from easy to hard and are intended to assist you in debugging your program.
- If you fail a test, try pruning down the test by removing or simplifying commands in the test file to get the simplest test case that still fails. Simpler examples tend to be easier to debug.
- Each function that you are expected to write in miniGL corresponds to an appropriate OpenGL command. I strongly recommend you look at this before implementing the appropriate functions. You only have to implement enough to pass the tests. You are not creating a full OpenGL implementation.
Grading
Along with the sample code is a list of test cases and a grading script.
Each test case contains a list of commands, which are the OpenGL functions that will be called and the arguments that they will be given.
The grading is automated, so you will be able to determine what your score will be before you turn it in.
Both runtime and error will be measured on the delta lab machines (delta-01.cs.ucr.edu, delta-02.cs.ucr.edu, etc.)
The file grading-scheme.txt tells you how many points each test case is worth.
It also tells how much runtime and error is allowed to pass the test.
This is the file that the grading script will use.
Some deviation from the OpenGL implementation is to be expected, but you should be able to get very close.
You should be able to get within 0.10 error on most, though not all, of the tests; the permitted error is very conservative.
The project will be graded out of 50 points.
The maximum number of points possible is 60; 10 points of extra credit are possible.
Implementing enough to pass the first five tests suffices for 30 of the points.
The tests are documented individually in the table below.
Grading script
We are providing you with the grading script that we will be using to grade this project.
You can run it like this: "./grading-script.sh .".
This will automatically compile your code, run all of the tests in the table above, and compute your score based on the point values in the table.
This means you can run it yourself to see your progress.
This will allow you to quickly identify the next test to work on.
You can also run it before you submit your project so that you know what your score will be before you submit it.
Note that scores can vary from run to run due to hardware and natural variability.
For example, if run on a machine slower than delta-01, you may see a lower score by failing some of the efficiency tests that would pass on delta-01.
Some runs will be slightly faster and some slightly slower; if you are very close to the time limit on a test, it may pass sometimes and fail others.
To give you the benefit of the doubt with timing variability, timing tests are automatically run three times each (or until you pass).
If any of the three runs is within the time limit, you will get credit for passing the test.
Be sure to test your project on one of the delta machines.
All of the delta machines are identical in hardware and software; if it works on one, it should work on all.
It is possible for your project to score well on your own machine but fail on delta-01.
For example, the version of the compiler on your machine may accept your code while the version on delta may flag a compilation error and fail.
Checkpoints
This project has one checkpoint.
Checkpoints are intended to encourage you to start your project early.
At each checkpoint, you will submit your project just as you would when it is due.
At the first checkpoint, your program will be graded out of 30 points.
No extra credit is possible at checkpoints.
When your project is due, it will be graded out of 50 points, and extra credit will be given for scores higher than that.
Test cases
The table below documents the tests.
Along with a thumbnail showing what the result should look like, I make some potentially helpful notes about the test case.
Click the thumbnail for a full-size image.
| Thumbnail |
Notes |
 |
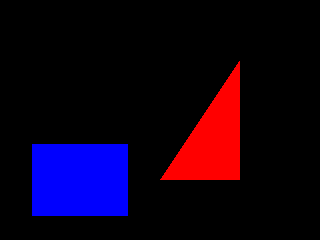
00.txt
10 points
Get the basics working: triangle rasterization, glVertex2, and pixel placement. Note that glMatrixMode, glLoadIdentity, and glColor can be ignored at this stage. Most other complications (clipping, most transforms, matrix stacks, colors, homogeneous coordinates, z-buffering, etc.) can also be ignored at this stage. These will be introduced one by one in later tests. The idea is to implement and test features step by step as we progress through the test tests.
|
 |
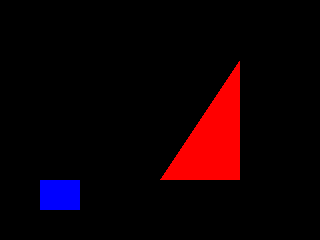
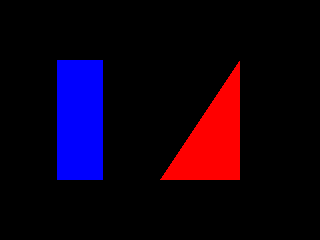
01.txt
5 points
Introduce glOrtho. This introduces the projection matrix.
|
 |
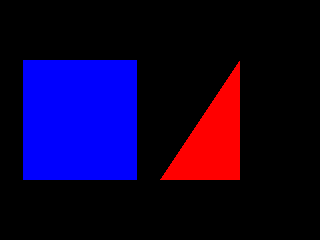
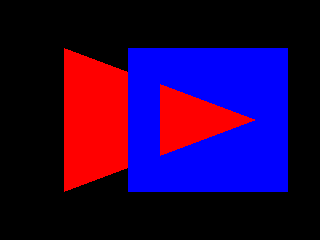
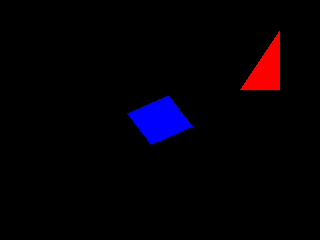
02.txt
5 points
Introduce GL_QUADS. These are normally rendered as two triangles.
|
 |
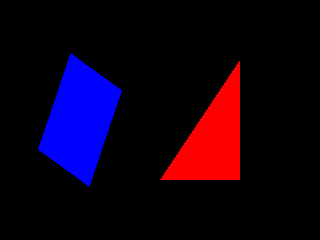
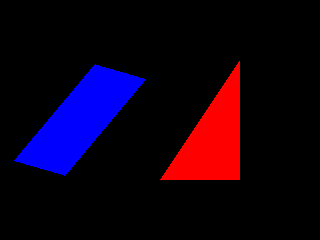
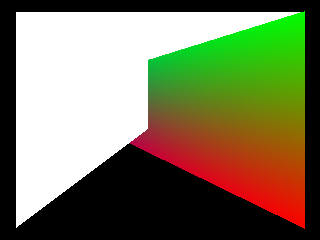
03.txt
5 points
Introduce glFrustum. Homogeneous coordinates are now needed.
|
 |
04.txt
5 points
Introduce glColor and basic support for colors. Color interpolation is not required at this stage.
|
 |
05.txt
1 points
More than one color at the same time.
|
 |
06.txt
1 points
Introduce glPushMatrix, glPopMatrix, glScale. Introduce the modelview matrix.
|
 |
07.txt
1 points
Introduce glTranslate.
|
 |
08.txt
1 points
Introduce glRotate.
|
 |
09.txt
1 points
Bug test - handle non-normalized rotation axis.
|
 |
10.txt
1 points
Combine transforms; test matrix multiply order.
|
 |
11.txt
1 points
Test matrix multiply order.
|
 |
12.txt
1 points
Test matrix multiply order.
|
 |
13.txt
1 points
Test matrix multiply order.
|
 |
14.txt
1 points
Make sure images are produced correctly for different image sizes
|
 |
15.txt
1 points
z-buffer test.
|
 |
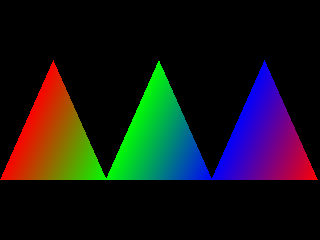
16.txt
1 points
Color interpolation test. Note that there is no perspective, so barycentric interpolation of colors is fine at this stage.
|
 |
17.txt
1 points
Make sure triangles rasterize correctly when presented in reverse order
|
 |
18.txt
1 points
Introduce glMultMatrix.
|
 |
19.txt
1 points
Introduce glLoadMatrix.
|
 |
20.txt
1 points
Test that glMultMatrix is being multiplied on the correct side.
|
 |
21.txt
1 points
Clipping against near and far plane. Fully general clipping is not required for this test. Pixels can be discarded during z-buffering.
|
 |
22.txt
1 points
Make sure clipping works with per-vertex colors.
|
 |
23.txt
1 points
Handle redundant glColor correctly.
|
 |
24.txt
1 points
Clip against sides of the image. Fully general clipping is not required for this stage. This can be handled by not rasterizing triangle pixels that are not inside the image.
|
 |
25.txt
3 points
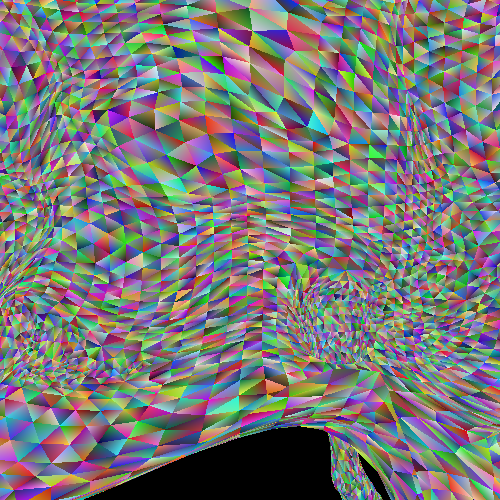
Large test. It stress tests your code; if something is not quite right, it has a fair chance of showing up here. It checks to make sure you are not doing anything too inefficient (you do get more time for this test, and you also are allowed more error). If you fail this example but not earlier ones, try pruning down this example by removing triangles or features intil you have a very small test that still fails. If your code is too slow, it may be your rasterization.
|
 |
26.txt
3 points
Implement fully general clipping in homogeneous coordinates.
|
 |
27.txt
3 points
Implement perspective correct interpolation.
|
 |
28.txt
1 points
Make sure z-buffering is being done correctly and that it works correctly with perspective-correct interpolation.
|